Fudge Brownies

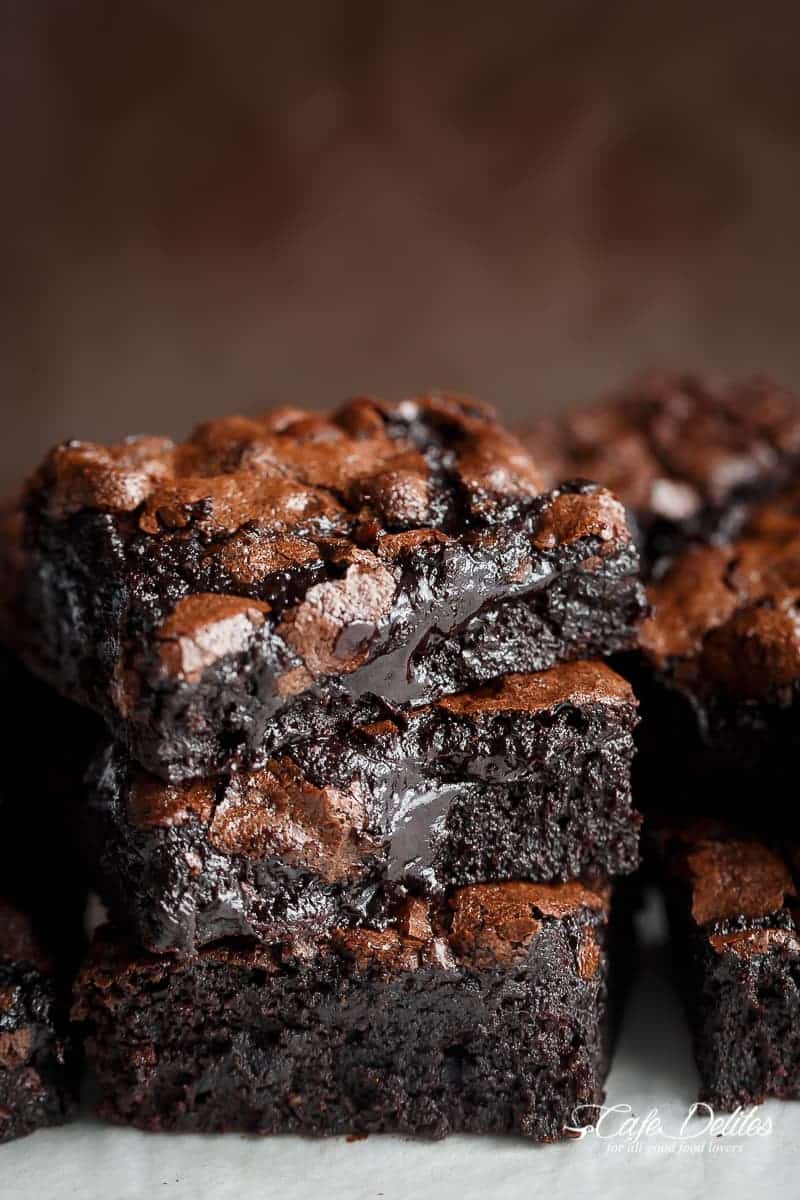
These brownies are goey and dleightful. They were made in the thanksgiving feast in my culinary class.

INGREDIENTS

  • 1/2 cup unsalted butter, melted
  • 1 tablespoon cooking oil, (olive oil or coconut oil are fine)
  • 1 1/8 cup superfine sugar, (caster sugar or white granulated sugar)*
  • 2 large eggs
  • 2 teaspoons pure vanilla extract
  • 1/2 cup all purpose (or plain) flour
  • 1/2 cup unsweetened cocoa powder
  • 1/4 teaspoon salt

INSTRUCTIONS

  1. Preheat oven to 175°C | 350°F.
  2. Lightly grease an 8-inch square baking pan with cooking oil spray. Line with parchment paper (or baking paper); set aside.
  3. Combine melted butter, oil and sugar together in a medium-sized bowl. Whisk well for about a minute. Add the eggs and vanilla; beat until lighter in colour (another minute).
  4. Sift in flour, cocoa powder and salt. Gently fold the dry ingredients into the wet ingredients until JUST combined (do NOT over beat as doing so well affect the texture of your brownies).
  5. Pour batter into prepared pan, smoothing the top out evenly. (OPTIONAL: Top with chocolate chunks or chocolate chips.)
  6. Bake for 20-25 minutes, or until the centre of the brownies in the pan no longer jiggles and is just set to the touch (the brownies will keep baking in the hot pan out of the oven). If testing with a toothpick, the toothpick should come out dirty for fudge-textured brownies.
  7. Remove and allow to cool to room temperature before slicing into 16 brownies.

Holiday Cookies

These Cookies are delicious and great for the holiday season. These were made for the class thanksgiving feast.

INGREDIENTS

  •  1/2 cup unsalted butter, softened (1 stick)
  •  1/2 cup granulated sugar
  •  1/2 cup light brown sugar, packed
  •  1 large egg
  •  2 tablespoons cream or half-and-half
  •  1 1/2 teaspoons vanilla extract (I use clear imitation-vanilla extract)
  •  1 3/4 cups all-purpose flour
  •  2 teaspoons cornstarch
  •  1 teaspoon baking soda
  •  1/4 teaspoon salt, or to taste
  •  3/4 cup red, green, and white jimmies (sprinkles), plus more for sprinkling the tops of the cookies

INSTRUCTIONS

  1. To the bowl of a stand mixer fitted with the paddle attachment (or large bowl and electric mixer), add the butter, sugars, and beat on medium-high speed until creamed and well combined, about 3 to 4 minutes.
  2. Stop, scrape down the sides of the bowl, and add the egg, vanilla (clear imitation-vanilla extract has a nostalgic, bakery-cookie flavor and I prefer it in this recipe), and beat on medium-high speed until well combined, about 2 minutes.
  3. Stop, scrape down the sides of the bowl, and add the cream, and beat on medium-high speed until well combined, about 1 minute. The batter may look a little ‘grainy’ and almost as if it’s separated, this is okay.
  4. Stop, scrape down the sides of the bowl, and add the flour, cornstarch, baking soda, salt, and beat on low speed until just combined, about 1 minute.
  5. Stop, scrape down the sides of the bowl, and add the sprinkles, and beat on low speed until just combined, about 30 seconds.
  6. Using a 2-tablespoon cookie scoop or your hands, form approximately 17 equal-sized mounds of dough. The dough is very soft and I find it easiest to use a cookie scoop. Place mounds on a large plate or tray, cover with plastic wrap, and refrigerate for at least 3 hours, up to 5 days. Do not bake with unchilled dough because cookies will bake thinner, flatter, and be more prone to spreading. After chilling, flatten each mound about half the original height.
  7. Preheat oven to 350F, line a baking sheet with a Silpat or spray with cooking spray. Place dough mounds on baking sheet, spaced at least 2 inches apart (I bake 8 cookies per sheet). Top each mound with a generous pinch of sprinkles, pressing them down lightly so they adhere.
  8. Bake for about 8 minutes or until edges have set and tops are just set, even if slightly undercooked and glossy in the center; don’t overbake. Cookies firm up as they cool.
  9. Allow cookies to cool on baking sheet completely. I let them cool on the baking sheet and don’t use a rack.
Design a site like this with WordPress.com
Get started